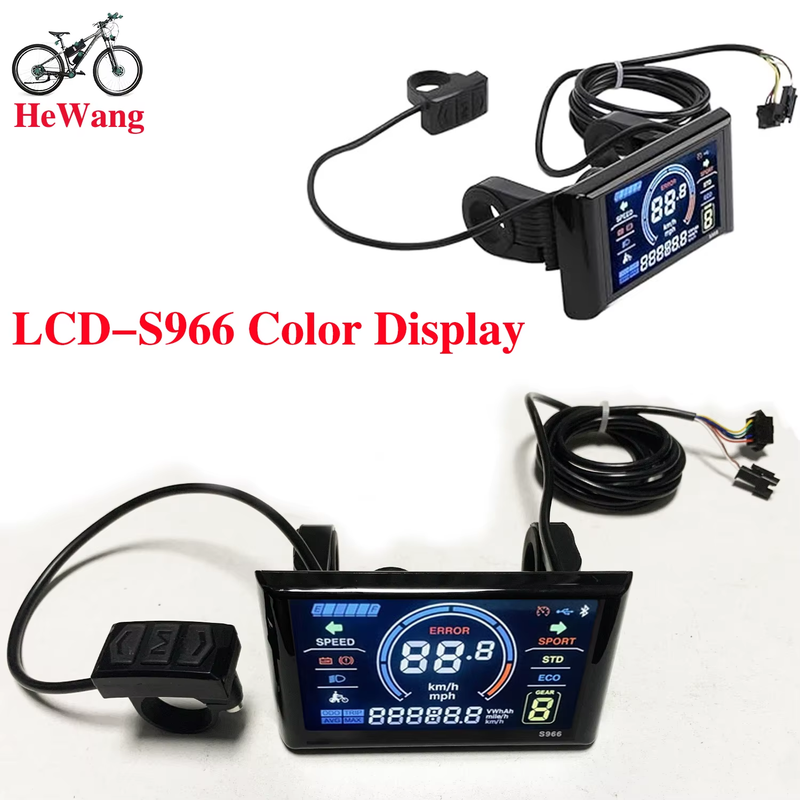
Product Description
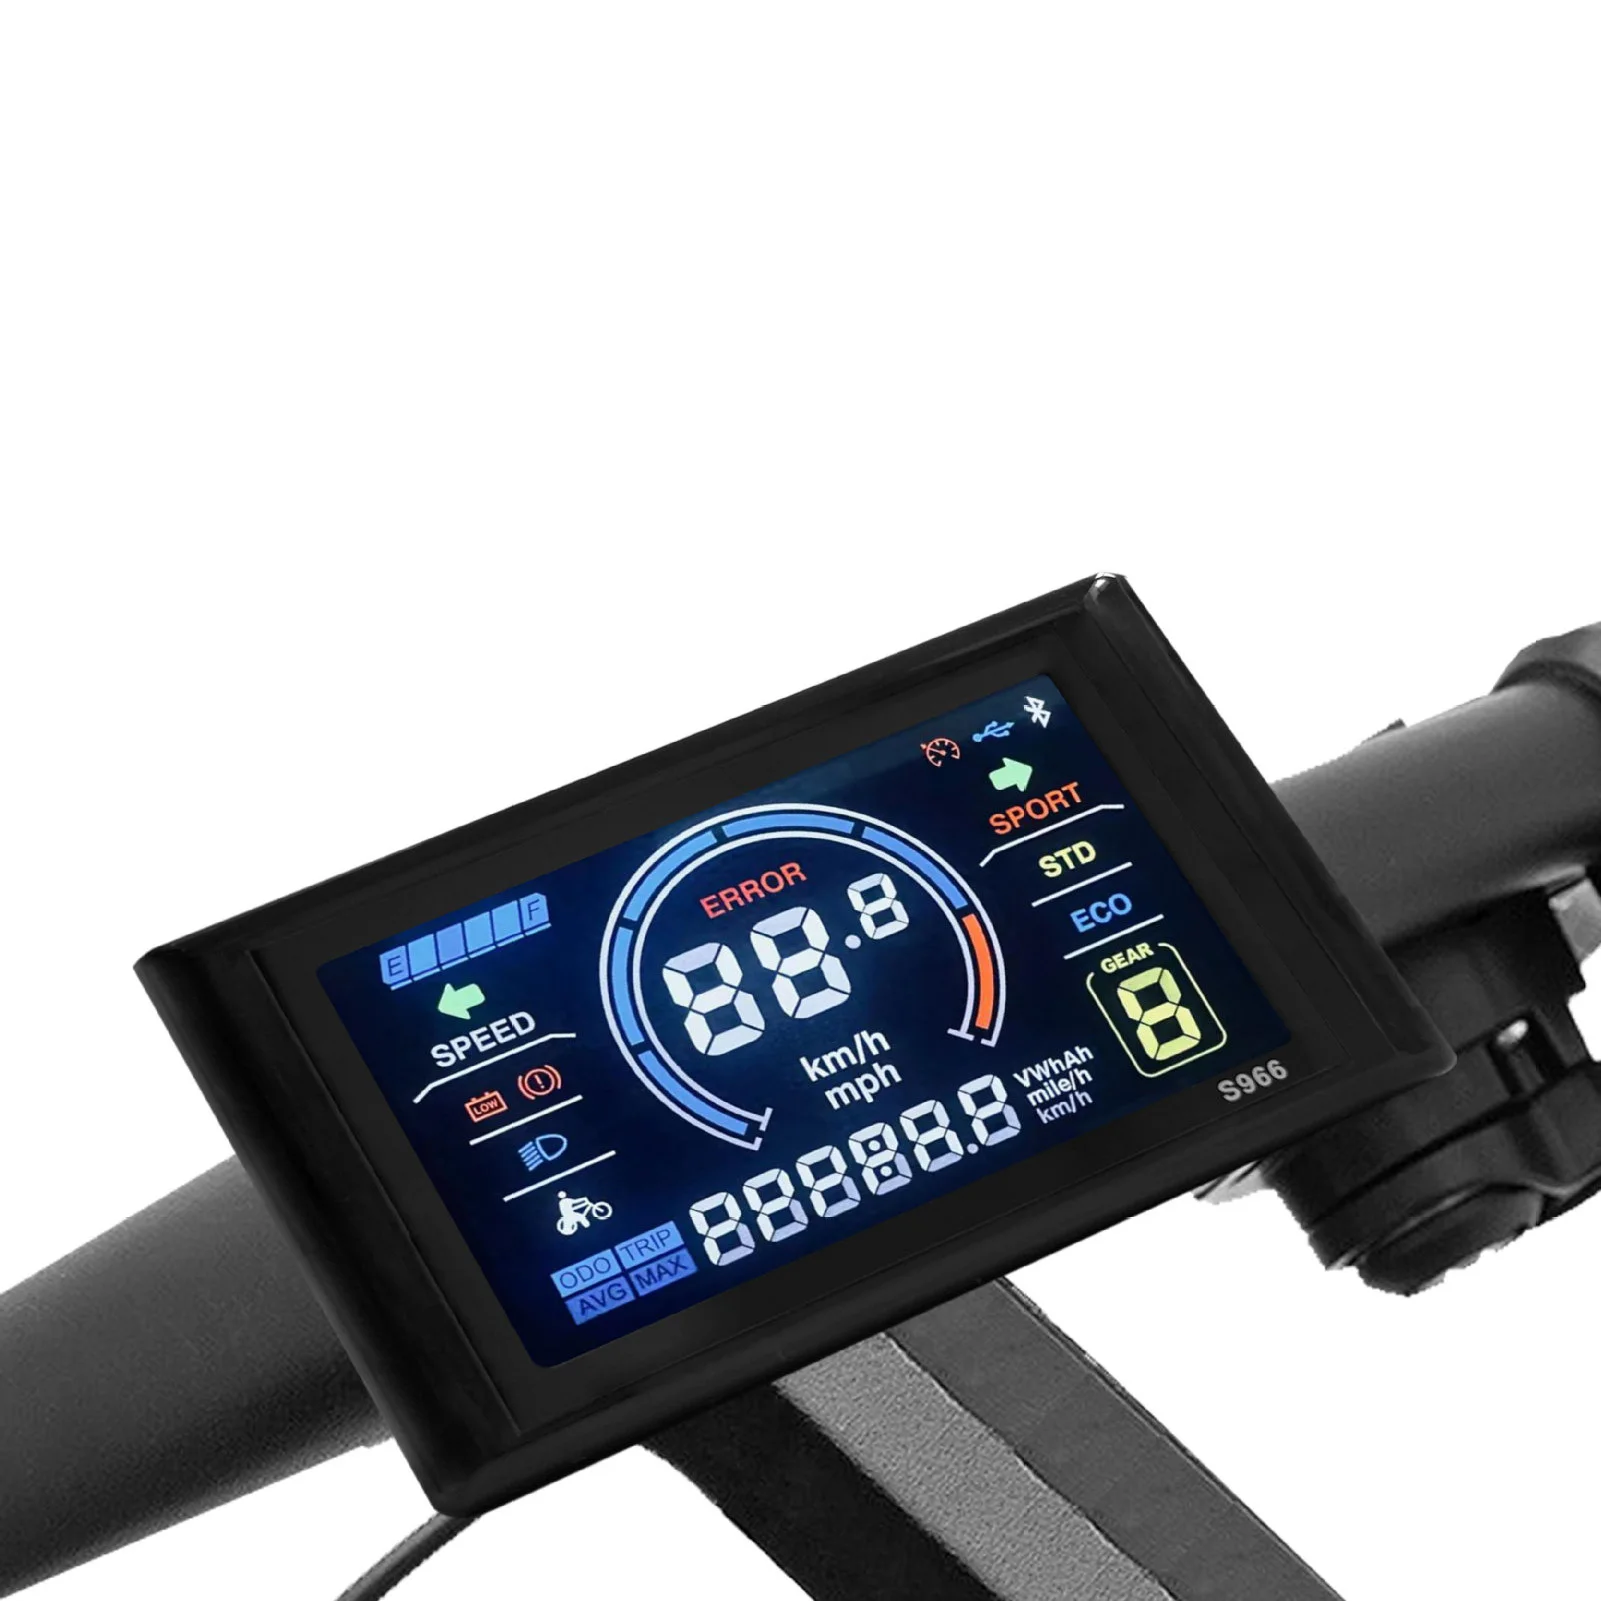
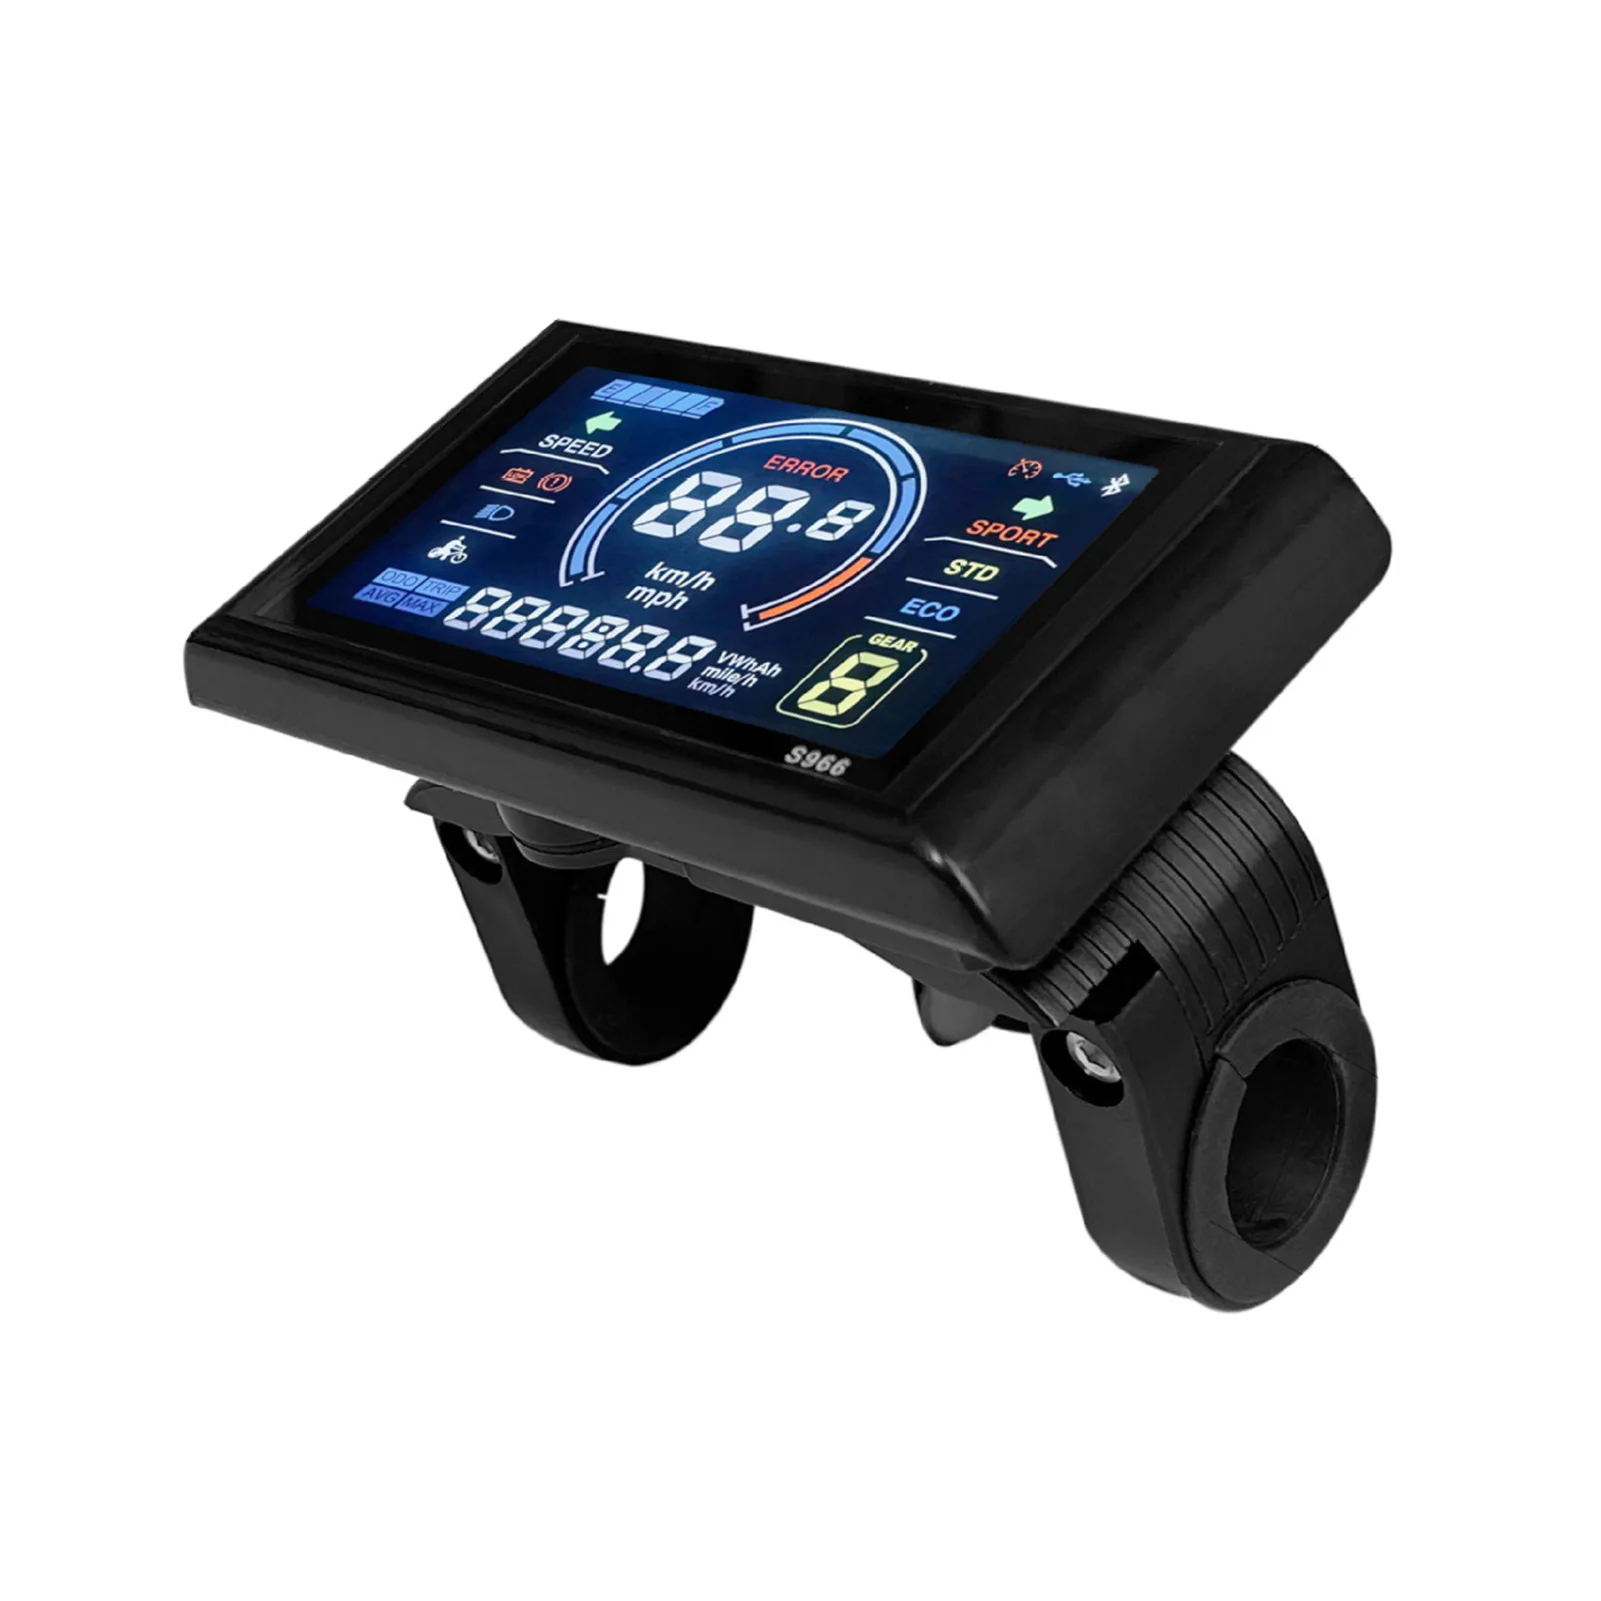
24V 36V 48V-72V E-Bike LCD-S966 Color Display Control Panel 5+2Pin SM Plug for UART Communication Protocol E-Scooter E-Bicycle 24V 36V 48V-72V E-Bike LCD-S966 Color Display Control Panel 5+2Pin SM Plug for UART Communication Protocol E-Scooter E-Bicycle
LCD BS900 Manual Control Panel
User Manual
The Latest Version 2022
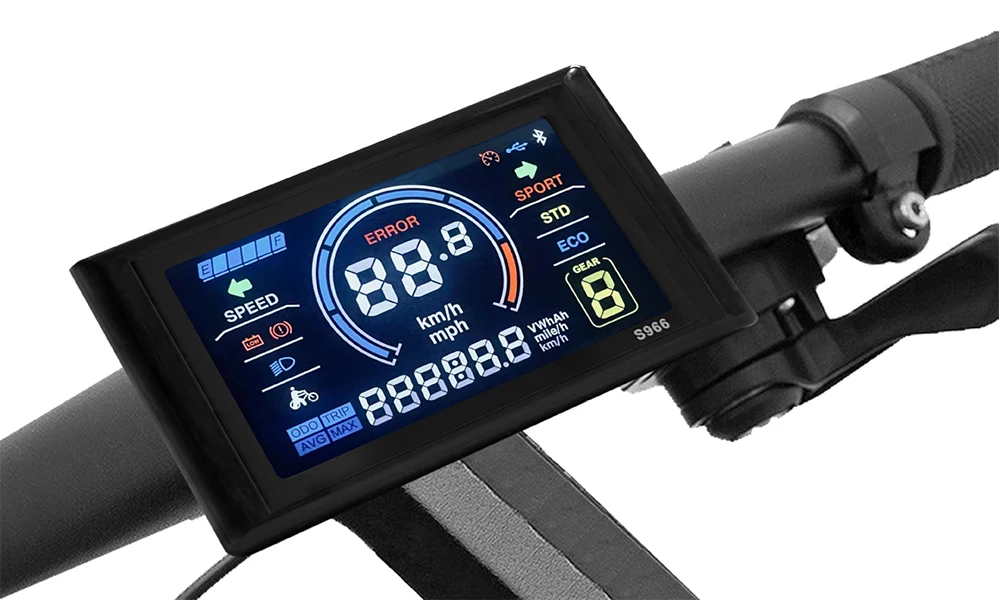
1.1. Exterior Parameters
Casing Material: ABS
Display Material: High Hardness Acrylic (the same hardness value as tempered glass).
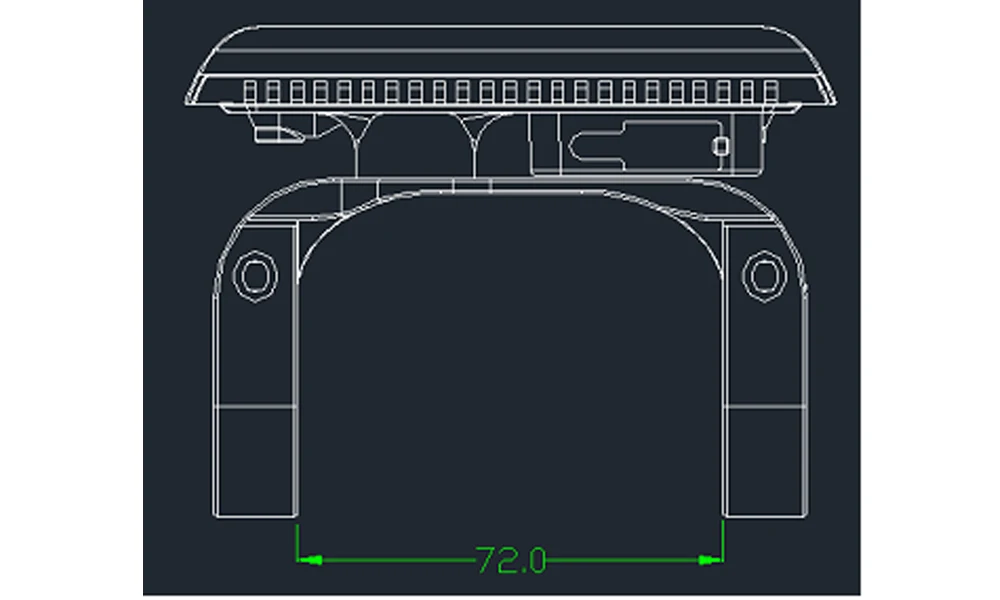
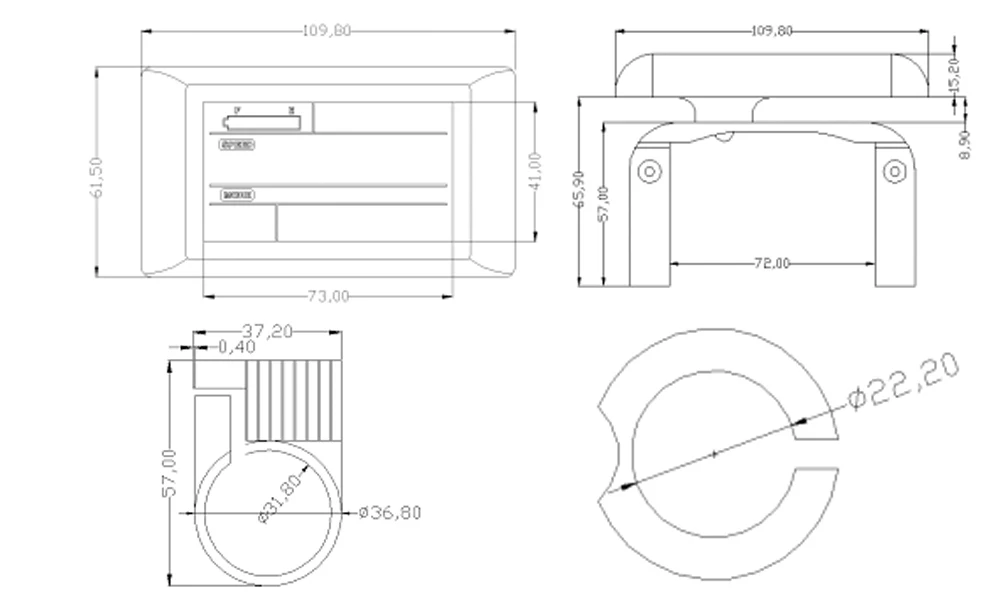
2. Operating Voltage and Connections
a. Operating Voltage: DC24V / 36V Compatible, 36/48V Compatible (set by the control panel). Other operating voltage can be customized.
b. Connections:
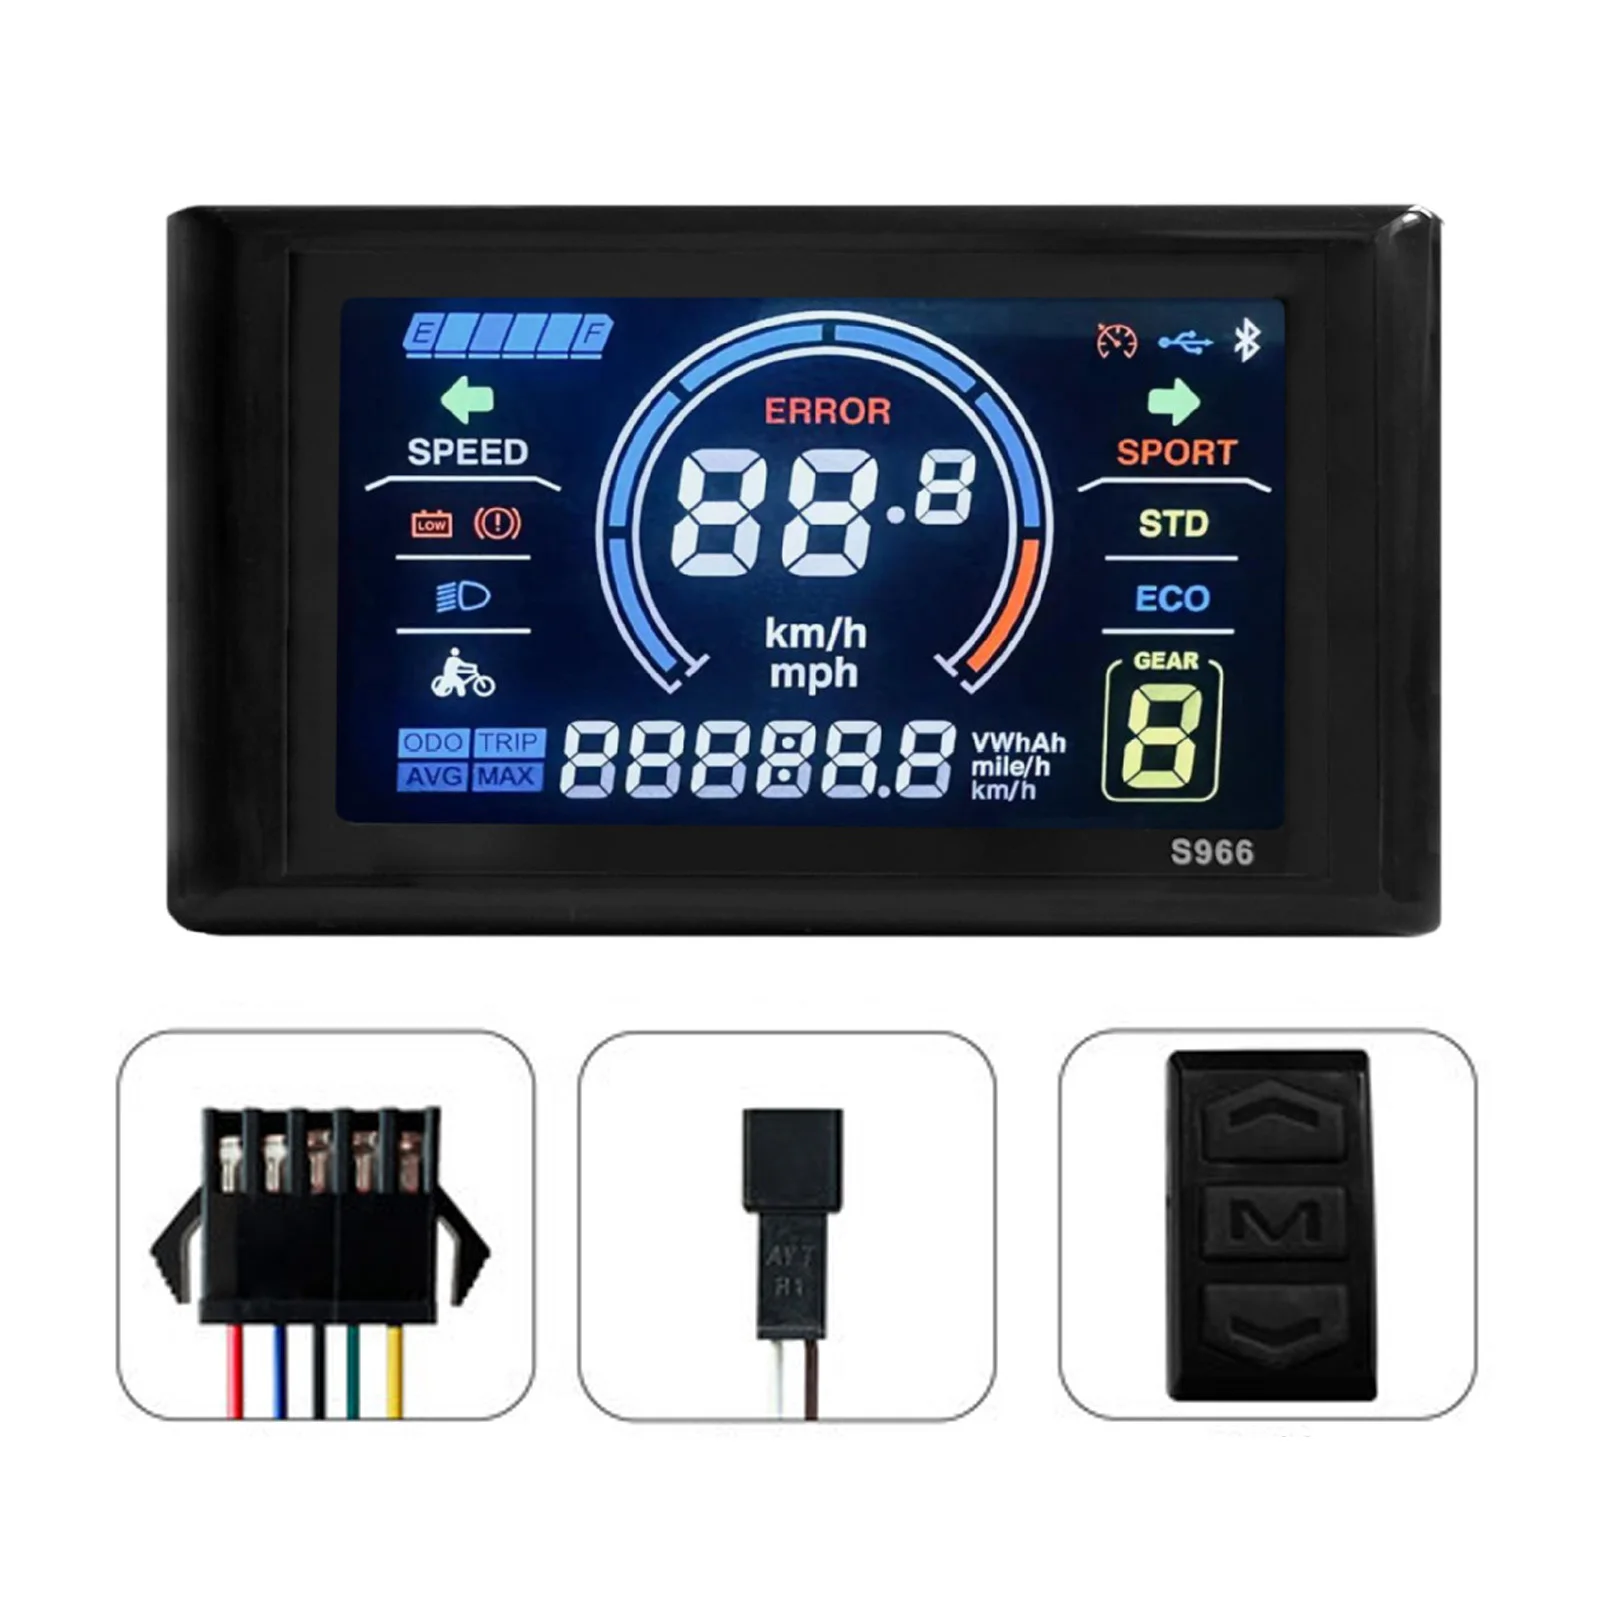
Standard connector sequence
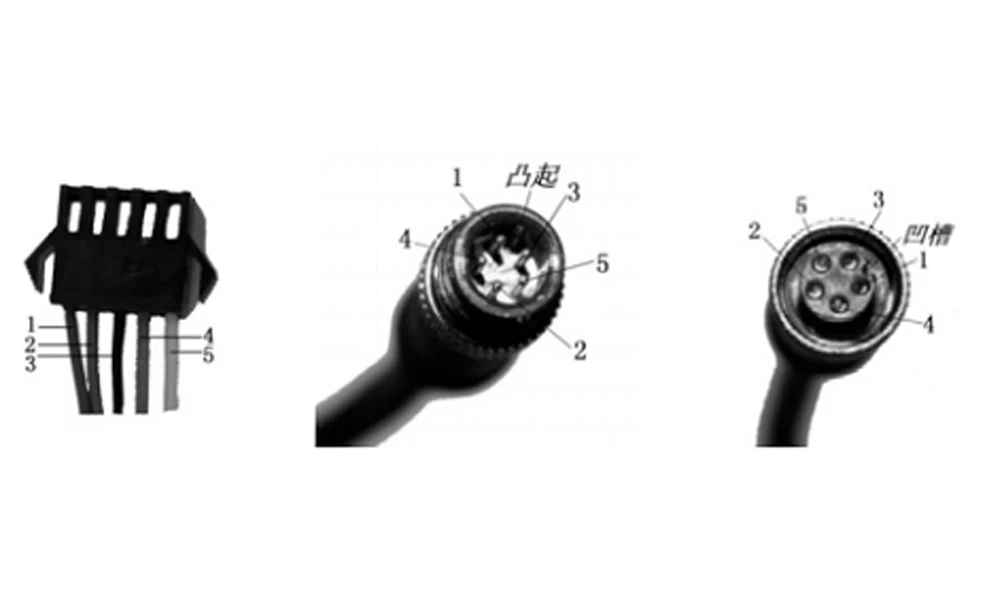
Standard Connector Sequence Table
Sequence No. | Wire Colour | Functions |
1 | Red(VCC) | Panel Power Cord |
2 | Blue(K) | Controller Power Cord |
3 | Black(GND) | Panel Ground Wire |
4 | Green(RX) | Panel Data Receiving Wire |
5 | Yellow(TX) | Panel Data Sending Wire |
Extended Functions
Light: Brown (DD): The positive electrode of the light
White (GND): The negative electrode of the light.
The wire colours of the PWM Voltage Motor Power Controller and the independent speed sensor will be defined otherwise.
Note: Some products are equipped with waterproof connectors, whose internal wire colors cannot be determined from outside.
3. Functions
a. Display
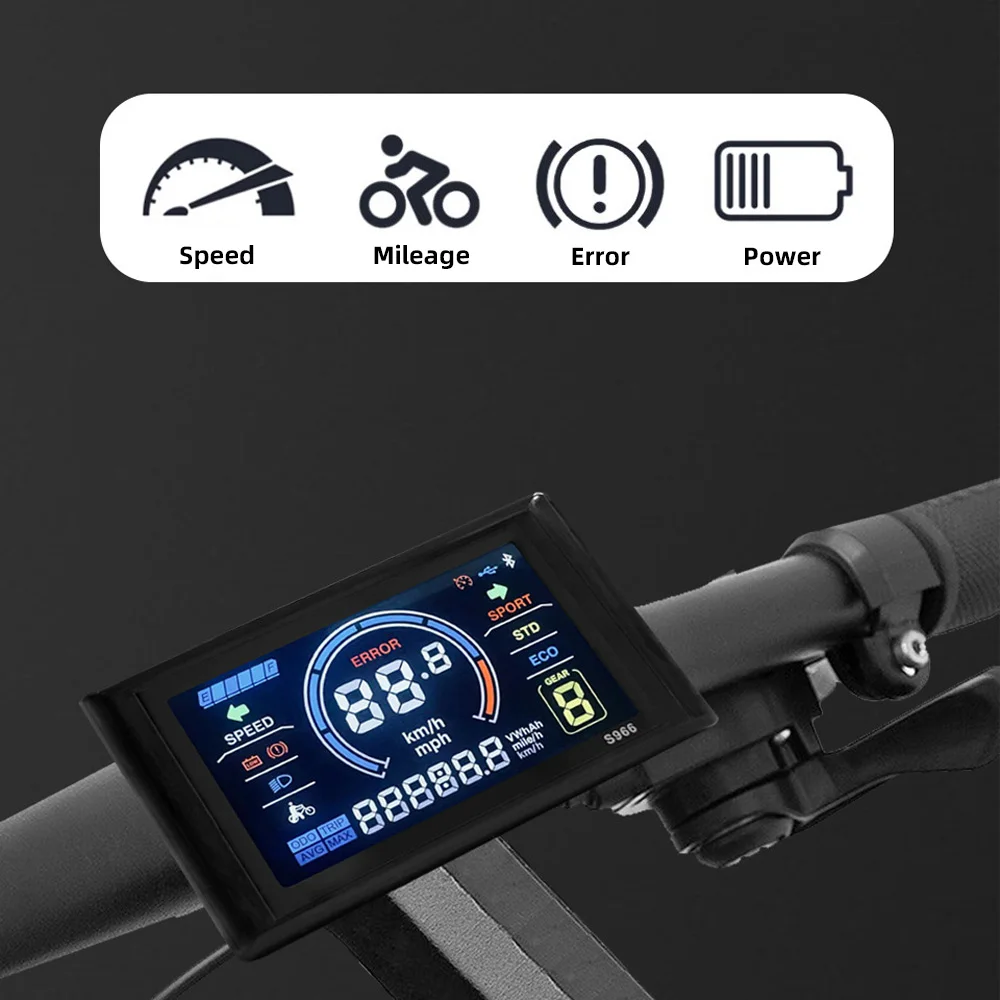
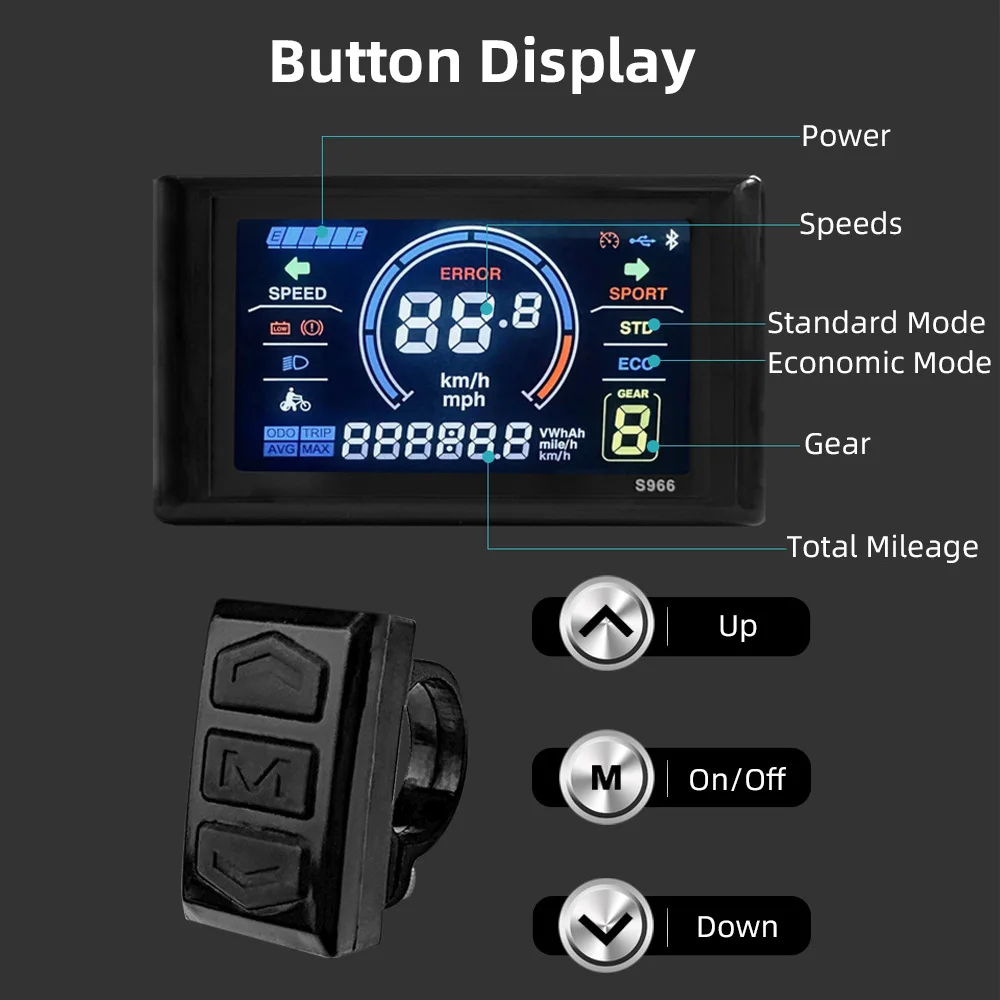
Speed Display, Motor Power Ratio Display, Battery Level Display,
Error Indication, Total Mileage, Single Mileage, Cruise Control, Single
Running Time, Light Signal
b. Control and Settings
Power Switch, Front Light Control, 6km/h Inching Control, Wheel Diameter Setting, Top Speed Setting, Idleness Time Setting for Auto-Off, Backlight Brightness Setting, Voltage Level Setting,
c. Communications Protocol: UART
Display Readings (display at start for 1 second)
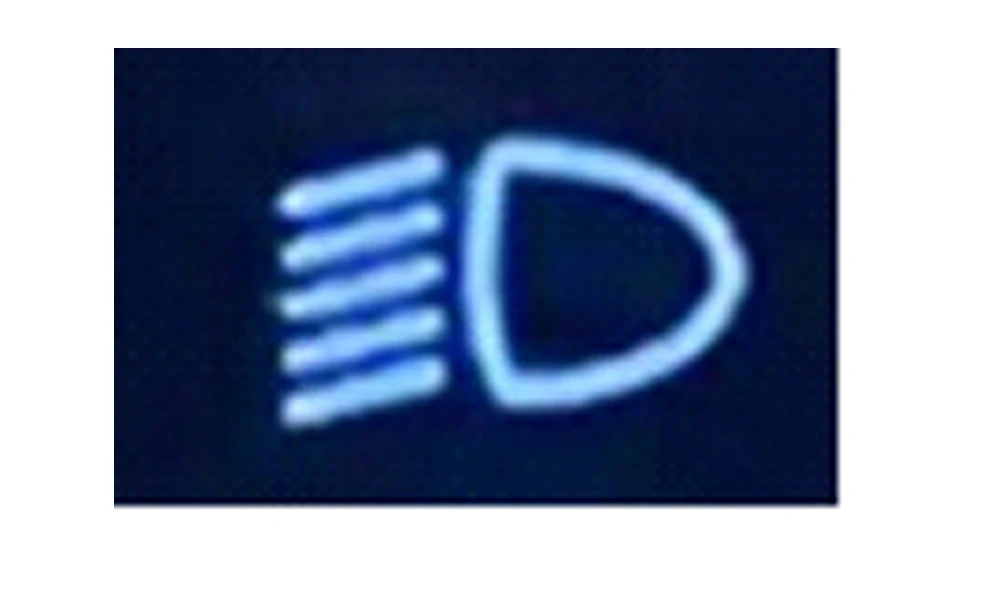
3. 1 Light
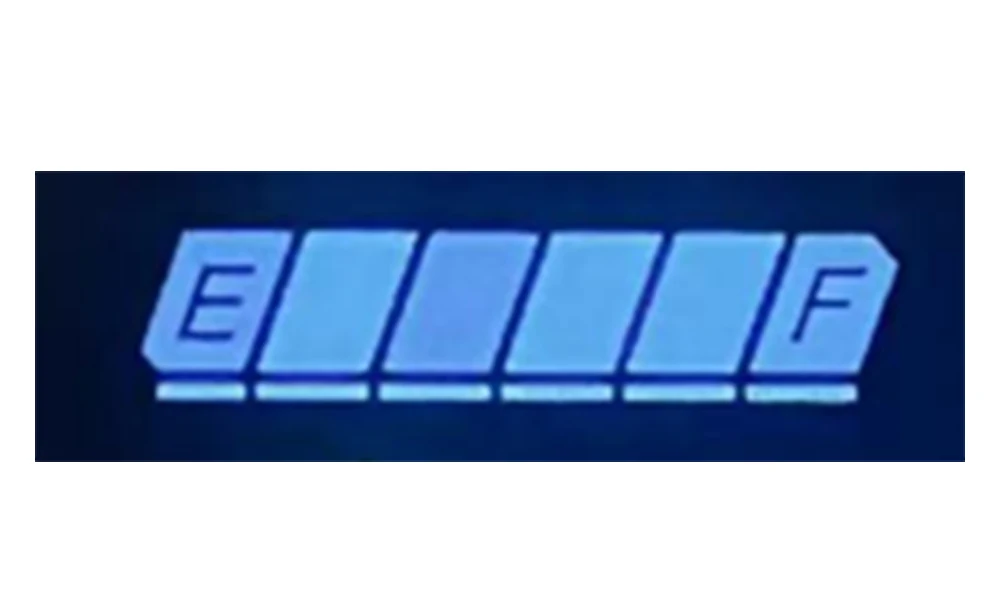
3.2 Battery Level:
3.3 Multi-Functions Display
Total Mileage: ODO
Single Mileage: TRIP
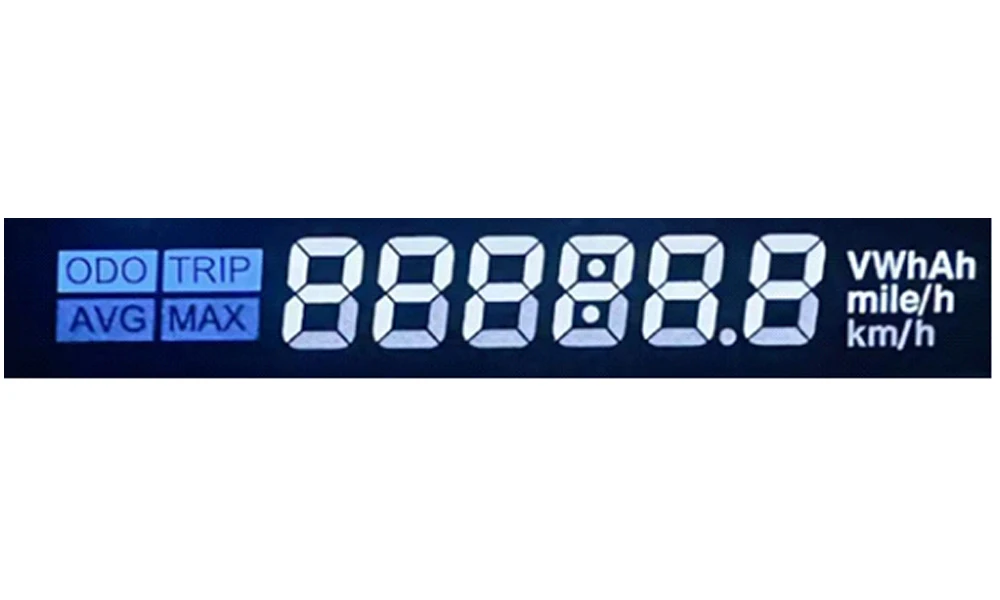
3.4 Vehicle Mode
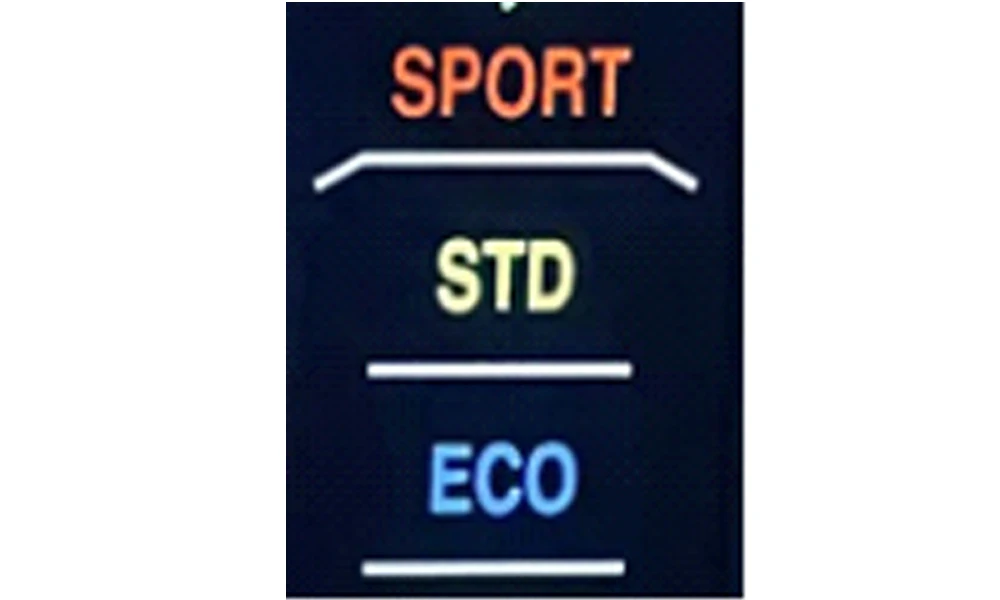
ECO: Economical Mode
STD: Standard Mode
POWER: Intensified Mode
SPEEDHANDLE: Throttle-Controlled Speed Mode
WALK: Walk Assist Mode
3.5 Speed Display
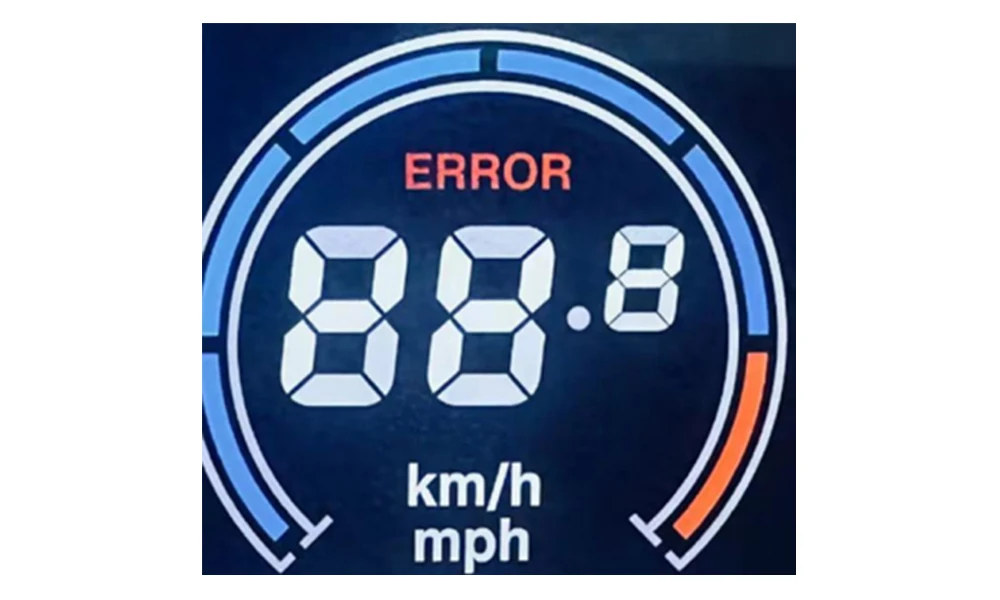
The panel will calculate the actual travelling speed based on the wheel diameter and signal data (number of magnet steel is needed for Hall motors).
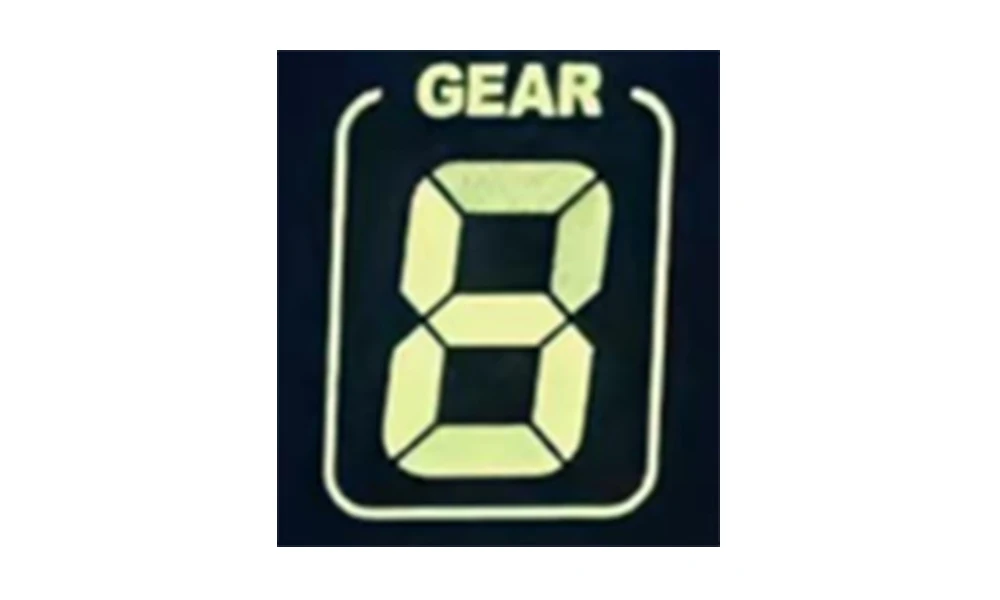
3.6 Assist Status
Power Assist Status
3.7 Error Code:
Code for Procotol SWC No2
Code (Decimal) | Indication | Note |
0 | Normal | |
1 | Reserved | |
2 | Brake | |
3 | Power Sensor Error (riding mark) | Not realizable |
4 | Reserved | |
5 | Reserved | |
6 | Low Battery Voltage | |
7 | Motor Error | |
8 | Throttle Error | |
9 | Controller Error | |
10 | Communications Receiving Error | |
11 | Communications Sending Error | |
12 | BMS Communications Error | |
13 | Light Error |
Code for Procotol K5S
Code (Decimal) | Indication | Note |
21 | Controller Error | |
22 | Throttle Error | |
23 | Motor Error | |
24 | Motor Hell Error | |
25 | Brake | |
30 | Communications Receiving Error |
Code for Procotol 8F
Code (Decimal) | Indication | Note |
0 | Normal | |
1 | Reserved | |
2 | Brake | |
3 | Power Sensor Error (riding mark) | Not realizable |
4 | Walk Mode at 6km/h | |
5 | Real-time Cruise | |
6 | Low Battery Voltage | |
7 | Motor Error | |
8 | Throttle Error | |
9 | Controller Error | |
10 | Communications Receiving Error | |
11 | Communications Sending Error | |
12 | BMS Communications Error | |
13 | Light Error |
3.8 Menu Settings
P00: Factory Settings: set the value to 10 and switch to the next item, the interface will show full content and reset all values to original factory settings.
P01: Backlight Brightness (1: darkest; 3: brightest)
P02: Mileage Unit (0: KM; 1: MILE)
P03: Voltage Level: 24V /36V (default) / 48V
P04: Auto-Off Time (0~60, 0: never, other values mean Auto-Off interval) Unit: minute
P05: Assist Level
1. Normally 3 types available: 3/5/9 Levels (requires controller support, subject to actual situation)
2. Some previous products may show 0/1/2 to represent assist level 3/5/9. The latest products will show directly 3/5/9 for 3 types.
3. Some display supports start level setting, by changing the extra first value 0/1.
For example: “0 3” means 0 assist level at start, and 3 assist levels in total.
“1 3” means level 1 at start, and 3 assist levels in total.
1. Some protocols (e.g. Lishui 5S, Protocol 2B as extended Protocol 2) supports manually setting PWM value for each assist level, which allows users enter a secondary menu by long pressing the down key in Assist Level settings (the interface will show from “3” to “31 55” and blinking indication). Then users can set PWM value for each assist level (incl. PWM for 6km/h walk assist mode).
4.1 Forexample: “31 55” means in 3-level mode, the PWM value
for level 1 is 55.
4.2 If the cursor blinks at “31”, press the Power/Mode key, and “55” will blink, then press the up key the value will turn to “31 56”, and the PWM value for level 1 has been set to 56.
4.3 Switch the cursor back blinking at “31”, press the up key the value will turn to “32 110”, now may set PWM value for level 2.
4.4 Long press the down key again, exit the secondary menu to the home menu, the new values will be automatically saved.
Note: The first digit blinking “P” indicates setting PWM value for 6km/h walk assist mode.
For example, “P35” means PWM value for 6km/h walk assist mode is 35, increase the value to speed up, decrease to slow down.
4.5 Some displays use analog voltage output for each level (no protocols), the output voltage for each level:
3-Level Mode: Level 1: 2V, Level 2: 3V, Level 3: 4V;
5-Level Mode: Level 1: 2V, Level 2: 2.5V, Level 3: 3V, Level 4: 3.5V, Level 5: 4V.
P06: Wheel Size. Unit: inch Precision: 0.1
P07: Magnetic Steel Number for Speed Test. Range: 1-100
P08: Speed Limit
Range: 0-50km/h, parameter 50 indicates no speed limit.
1. Non-communications status (panel-controlled)
When the current speed exceeds the speed limit, the PWM output will be shut down; when the current speed falls to lower than the speed limit, the PWM output will be activated and the driving speed will be set as the current speed ±1km/h (only applies to assist power speed, not applicable to the throttle speed).
2. Communications status (controller-controlled)
The driving speed will be kept constant as the limited value.
Error Value: ±1km/h (applicable to both the assist power/throttle speed)
Note: The above-mentioned values are measured by metric unit (kilometers). When the measuring unit is switched to imperial unit (mile), the speed value displayed on the panel will be automatically switched to corresponding imperial unit, however the speed limit value in the imperial unit interface won’t change accordingly.
P09: Zero / Non-zero Start Setting:
0: Zero Start (direct start when throttle turns)
1: Non-zero Start (kick to start)
P10: Drive Mode Setting
0: Pedal Assist Only – The specific gear of the assist drive decides the assist power value. In this status the throttle does not work.
1: Throttle Only – The vehicle is driven by the throttle. In this status the power gear does not work.
2: Pedal Assist+Throttle – Electric drive does not work in zero-start status.
P12: Assist Power Intensity Range: 0-5
P13: PAS Sensor Magnet Steel Number: 5 / 8 / 12pcs
P14: Current Limit Value: 12A by default; Range: 1-20A
P15: Unspecified
P16: ODO Zero-Out: Long press the upper key for 5 seconds and ODO value will be cleared.
P17: (required by customer) Auto Cruise Option.
0: No Auto-cruise
1: Auto-Cruise On. Trigger time of auto-cruise is decided by the controller.
P18: (K5S, APT Protocol Bound) Forward / Backward PAS Option.
0: Forward PAS.1: Backward PAS.
P19: (K5S Protocol Bound) Throttle Level Option.
0: No throttle level. 1: Has throttle levels.
P19: (K5S Protocol Bound) 6km/h Cruise Throttle Definition.
0: Throttle without 6km/h cruise definition.
1: Throttle with 6km/h cruise definition.
4. Keys
Arrangement of Keys:
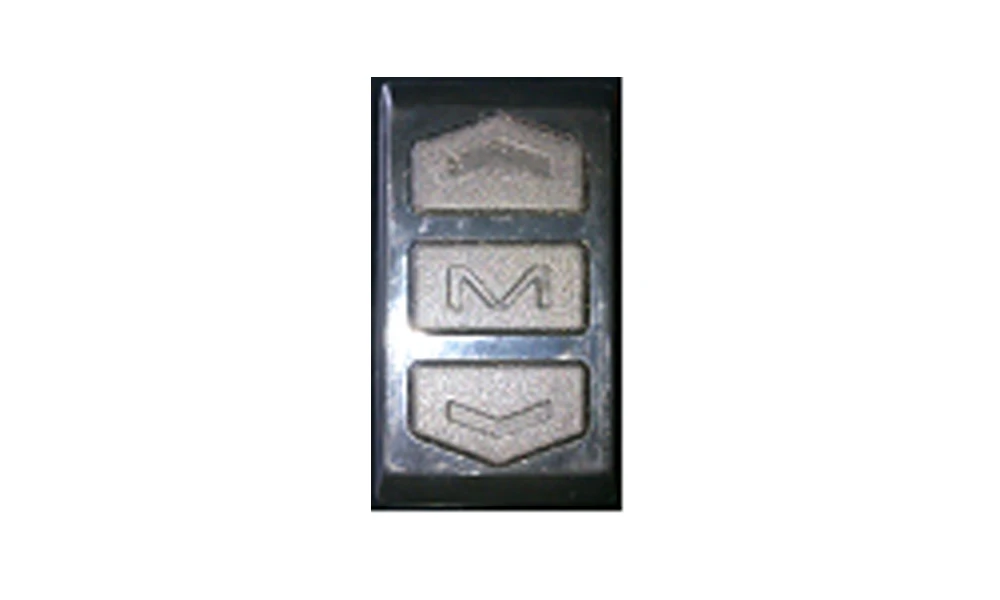
1.M key, works as Mode Switch key and Power key.
If the has NFC function, for security concerns, password is required when turning onthe display by M key.
2. Up key, also known as Plus key (common operation: press it and the value will add 1 “Plus”).
3. Down key, also known as Minus key (common operation: press it and the value will deduct 1 “Minus”).
:
1. Press (press and release a single key)
Press is used for frequent operations:
1.1 During ride, press Up or Down key to switch assist levels.
In settings, press Up or Down key to change the value for certain item.
1.2 Press the M key to switch items displayed in the multifunction
area. To avoid false triggering, normally press is not used in two-key operation, but some displays support double press (similar to “double click”on the mouse) or multiple press.
2. Long Press (long press a single key for over 1s before release);
Long press on a single key is used in non-frequent On/Off, e.g.
Turn on/off the front light.
3. Multiple-Key Operation (long press 2 or more keys together for over
1s before release)
Compared to long press of a single key, multiple-key operation
Is used in rarercases.
Detailed Introduction of Key Operations
1. Switch Assist Level
On the home interface, press the Plus key or Minus key.
2. Switch Displayed Items in Multi-Function Area
On the home interface, press M key to switch among total range (ODO), single trip range (TRIP), working time (TIME), battery voltage, working current, error code, etc. (not every model supports all the above items).
3. Turn On the Front Light (Backlight Brightness)
Long press the Plus key to turn on/off the front light.
In most cases, the backlight of displays is on by default. However, in some cases, the backlight status is subject to (synchronized with) the front light.
4. Turn On 6km/h Walk Assist Mode or Cruise
When the vehicle is parked, long press Minus key to enter 6km/h walk assist mode. To exit, normally release the key, yet in some rare cases subject to the controller, to exit, long press the Minus key again instead of simple
release.
Moreover, in some cases, the controller decides the speed of walk assist/cruise mode by the engaging motor speed, e.g. if the engaging speed is 0, enter 6km/h walk assist mode; if the engaging speed reaches a certain preset value (like 15km/h), the controller will turn on cruise mode, in this case, to exit 6km/h walk assist mode or cruise mode, long press the Minus key again.
5. Turn On/Off the Display
Long press the M key to turn on/off the display
6. Display 3 Types of Speed
Real-time speed (CUR), maximum speed (MAX), average speed (AVG)
Long press M key and Plus key to switch among 3 types of displayed speed. If there’s only one speed type displayed, the M key is invalid.
7. Setting Menu
Long press Plus and Minus key together to enter the setting interface, available setting items as follows:
Backlight brightness, system unit, voltage class, auto-off time, assist levels, wheel size, magnetic steel number, speed limit, zero start and non-zero start, assist sensitivity, start power, type of PAS sensor disc, controller current and ODO clearance.
The setting area composes of two sectors: one is the numbering of parameters, normally displayed as PXX (XX is the number of parameter, e.g. P01 is the first parameter, often defined as backlight brightness).
Another sector is the value of the parameter.
In Setting interface, press M key, the display will save the new parameter and switch to next item, e.g. P01->P02 press Plus or Minus key to adjust the value +1 or -1.
Some parameters have a wide range, e.g. wheel size, and press operation would be inefficient. In this case, long press Plus key to enter auto-plus mode to boost efficiency.
To clear total distance (P16 in most cases), long press Plus key for 5s, when the ODO sector shows 0, the total distance value is cleared.
Long press Plus and Minus to exit setting menu. In the setting menu without any operation for 10s, the system will automatically exit the setting mode to avoid false operation.
NFC Display Function Introduction:
When the device with NFC functionality is being produced, after the program is loaded, upon startup, a prompt "C1" will be displayed, indicating that it's now necessary to record Master Card 1. Place an appropriate card near the screen. When the display detects the card, it will automatically read the ID of the card and write it into the display's memory. Then, "C2" will be displayed to indicate the need to record the second Master Card. By replacing the card with another and recording it again, the "C2" display will disappear. Once the recording of two Master Cards is complete, the display will automatically enter its normal swipe card power on/off mode. (Generally, the recording of Master Cards is carried out by the display manufacturer.)
The NFC display can also opt for recording Sub Cards. When the display is turned off, place any Master Card on the display (without covering the mileage position). If the display detects the Master Card, it will power on. If the Master Card remains stationary for more than 10 seconds, the display will prompt "SC1," indicating the entry into Sub Card recording mode. Remove the Master Card and place the Sub Card near the display; it will automatically record the Sub Card. If the display is set to record multiple Sub Cards, it will sequentially display "SC2," "SC3," "SC4," etc. Typically, support is provided for recording 2 Sub Cards, but based on customer requirements, it can be configured to support up to 4 Sub Cards. Once Sub Card recording is complete, the Master Card can be kept aside and only the Sub Card used for operations. If a Sub Card is lost, it can be re-recorded using the Master Card. (All Sub Cards need to be re-recorded. Sub Card recording is generally carried out by the display distributor or the user themselves.)
It's also possible to clone and simulate NFC Master Cards (the same applies to Sub Cards) using a smartphone. If you're not familiar with the specific process, you can search online for various brands' methods of duplicating NFC cards. This method is independent of the display, so it won't be elaborated further here.
For displays with NFC functionality, when the display is in motion, it's not possible to swipe the card to power it off; it can only be done when the speed is 0, i.e., when the vehicle is stopped. After powering off, the NFC card reading function continues to work, so the display also has a certain power consumption.
Note: Due to product upgrade, the product you purchased may be slightly different from the descriptions in this user manual, and this won’t affect normal usage.
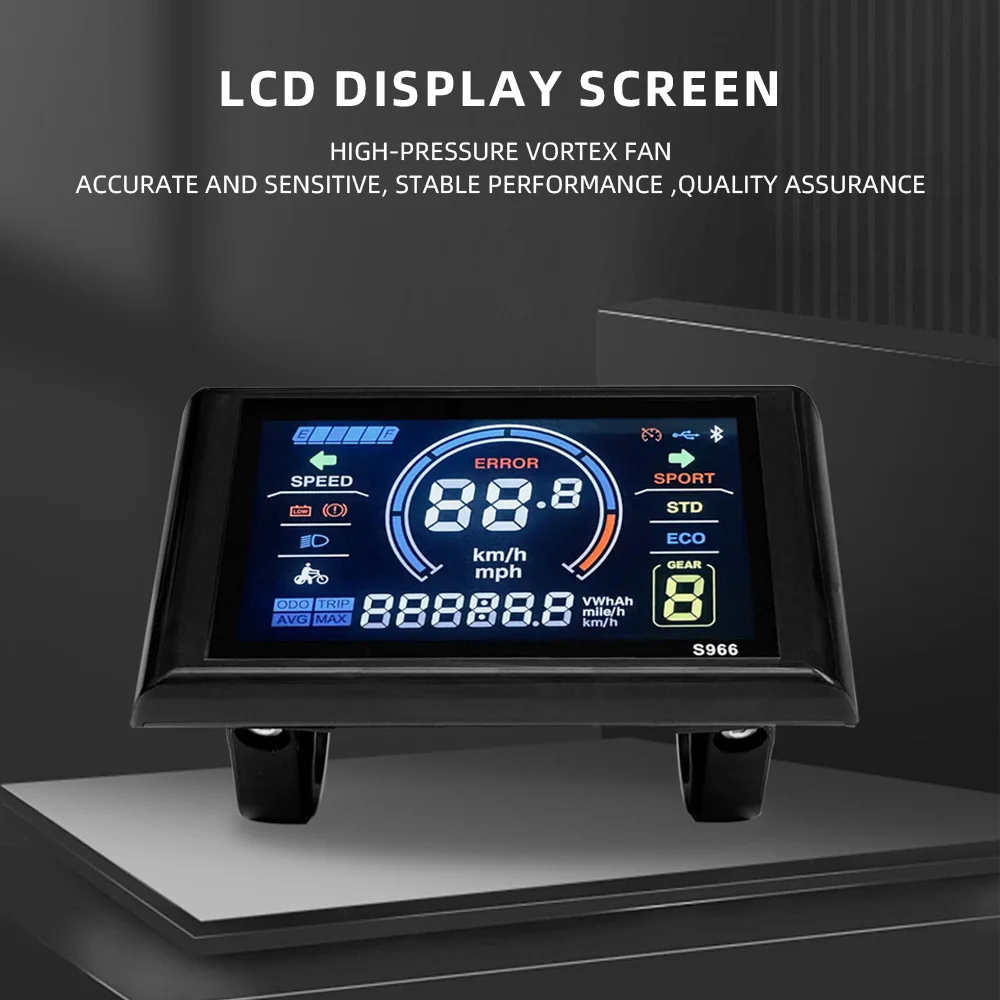
his LCD display is specifically designed for electric bikes, providing essential information and features for a silky riding experience. When connected to a bike, this product will display a lot of useful data on your bike, such as riding speeds, time, power, and temperature. Lightweight, rainproof, sturdy and to use for a long time. Easy to install and disassemble, you can directly replace the old or damaged parts to obtain higher strength. Wonderful accessories suitable for electric bikes, scooters, mountain bikes, etc. It needs to be used with the No. 2 protocol controller, otherwise the display will not work.
Features:
Enhanced Visual Display: The LCD display allows convenient viewing of data on the panel, like the riding speeds, time, and distance, with clear and intuitive status displayed on the large screen.
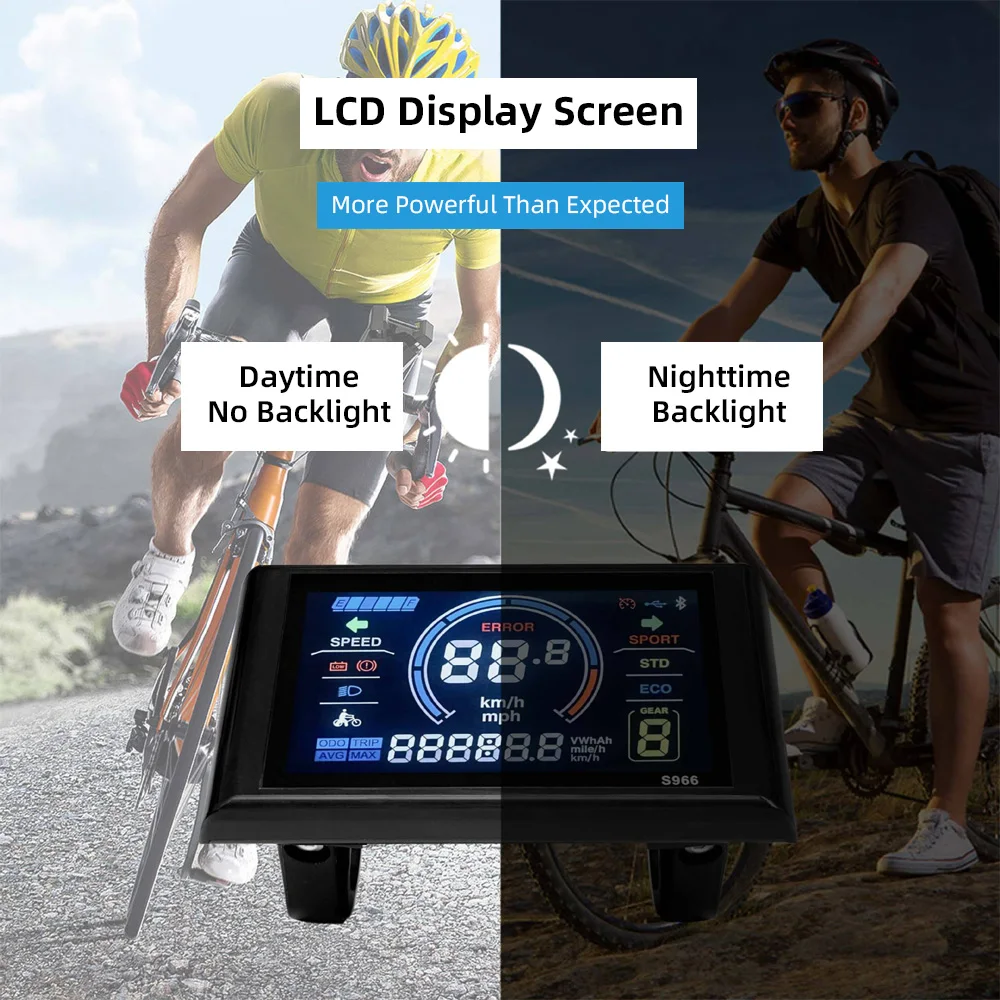
Backlight Function: Full-screen backlight design, the important data is clear at a glance, the brightness can be adjusted arbitrarily. The appearance is small and light and occupies little space.
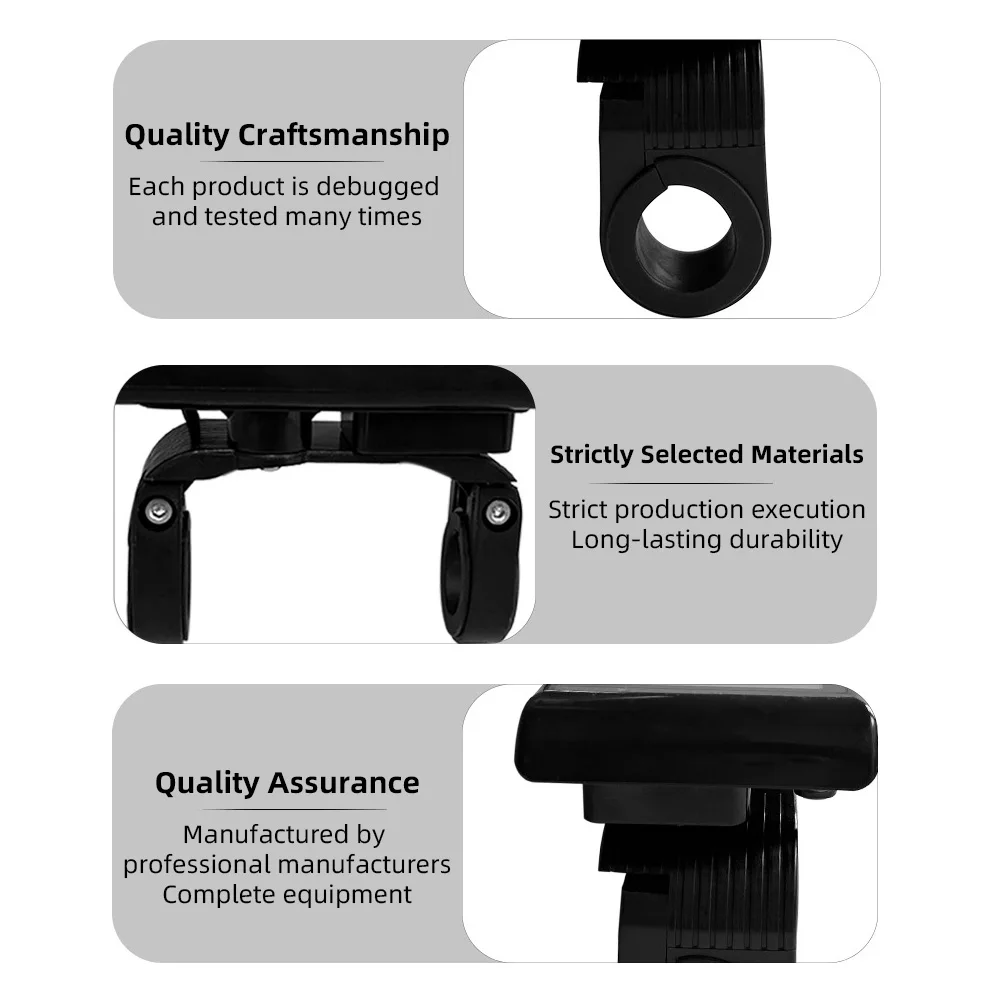
Reliable Structure: The colorful control panel is made of lightweight and enduring ABS, providing waterproof and long-lasting performance, which provides better for the inner circuit.
Compatibility: Requires the use of a controller supporting Communication Protocol 2 for optimal functionality. The individual joints are clearly set to help with cost-effective installation.
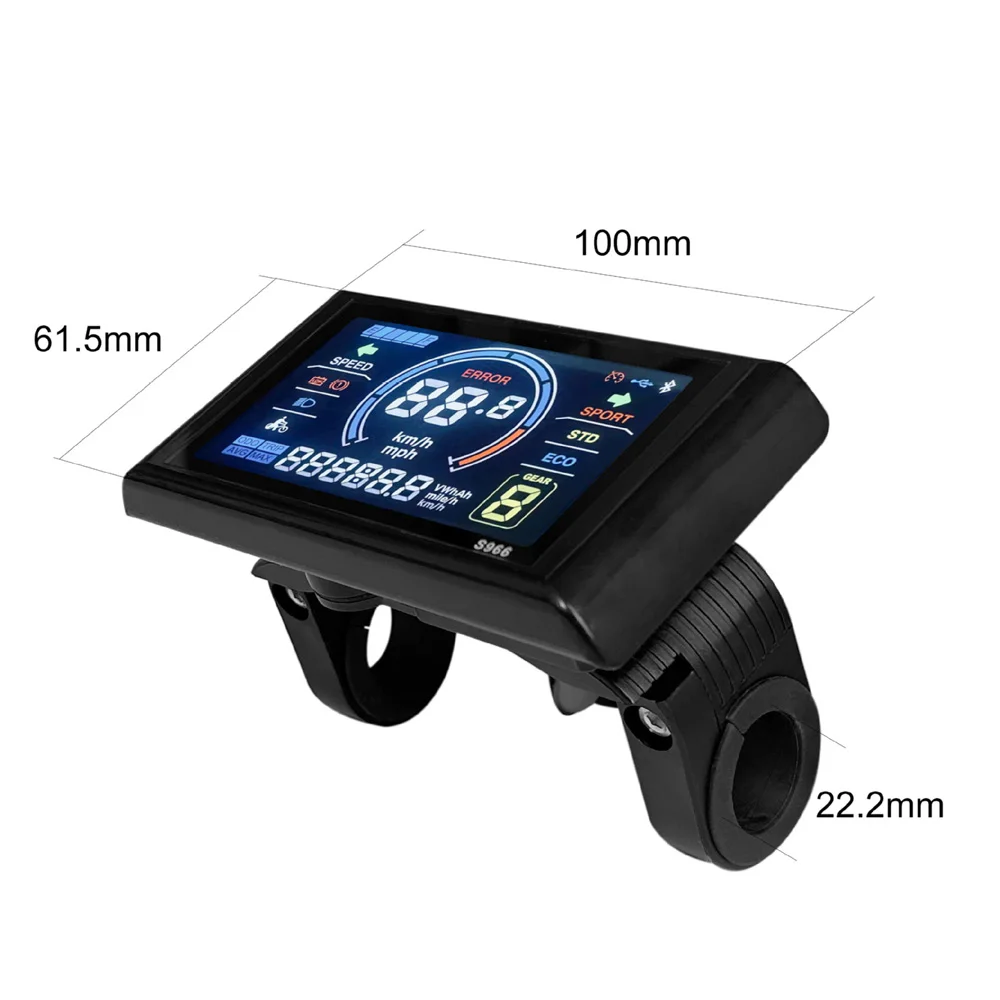
Wide Applications: Easy to install and use, suitable for 22.2mm handlebar. This is a great accessory for electric bikes, mountain bikes, and scooters, bringing you a more comfortable riding experience.
Specifications:
Type: A: Normal Connector, B: Waterproof Connector (Optional)
Color: Black
Material: ABS
Voltage: 24-72V
Model: A: 5Pin+2Pin, B: 5Pin
Item Size: 100 * 61.5mm/3.94 * 2.42in
Item Weight: 272.7g/9.62oz, 187g/6.6oz
Package Size: 12 * 10 * 6cm/4.72 * 3.94 * 2.36in
Package Weight: 265g/9.35oz, 228g/8.04oz
Packing List:
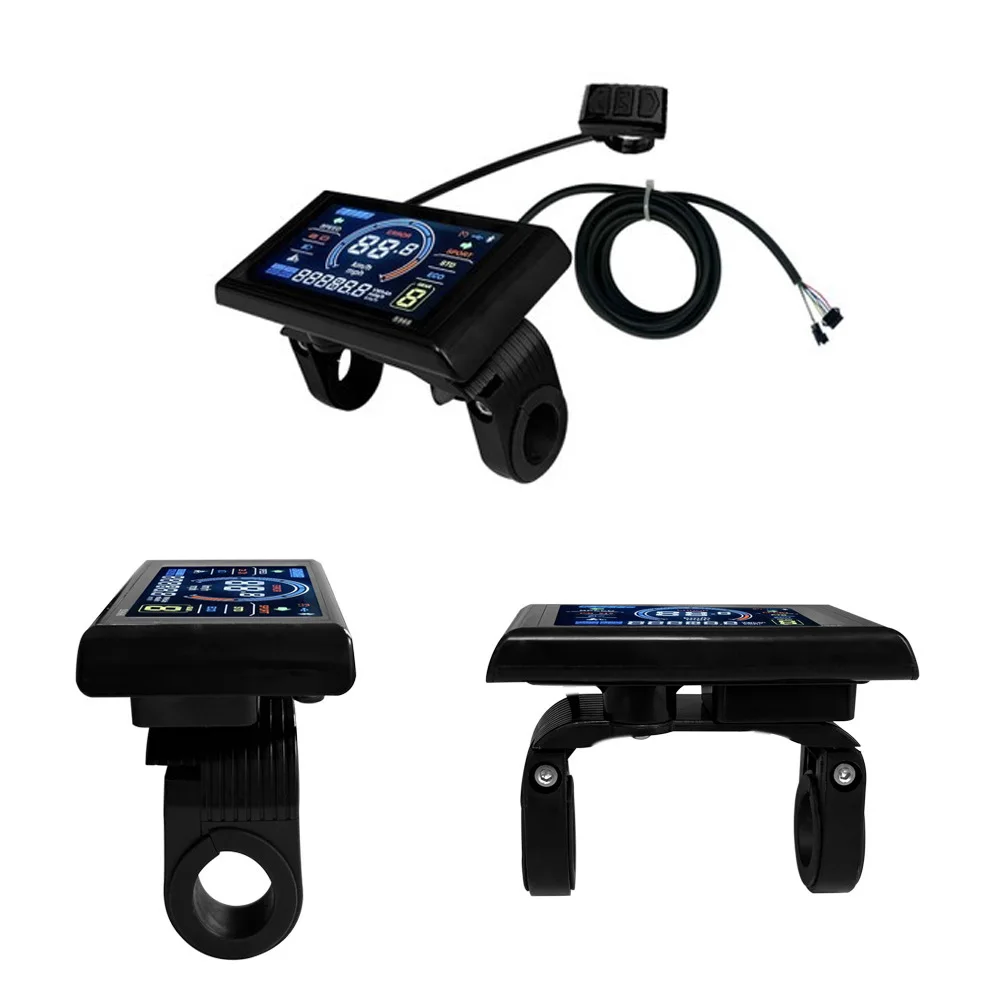
1*LCD Display

About Prime Living
Prime Living is a Canadian online store offering a carefully selected range of quality products for home, automotive, tools, outdoor living, electronics and more.
We are committed to fast order processing, secure packaging and reliable tracked shipping to provide an excellent shopping experience.
Shipping policy
We carefully handle each order to ensure your package arrives quickly and safely. Please note that factors such as weather, postal traffic, or carrier performance may occasionally cause delays beyond our control.
We provide free shipping and dispatch all orders within 2 business days of payment, often sooner. All shipments are sent via international express air shipping, with a tracking number provided so you can follow your order every step of the way.
. Please provide a physical address, as we do not ship to P.O. Boxes.
Returns
Your satisfaction is important to us. Hexlight offers a 14-day Free return policy: if you are not fully satisfied with your purchase, you may request either a full refund or an exchange. All return shipping costs are fully covered by us.
Condition
Brand New
Shipping
This item is shipped directly from our supplier in China with tracking.